> ## Documentation Index
> Fetch the complete documentation index at: https://docs.priceos.com/llms.txt
> Use this file to discover all available pages before exploring further.
# Creating Overrides
> Customer overrides let you change feature access for individual customers.
Customer overrides are useful if you need to...
* Grant access to a feature for a single customer
* Increase or reduce a limit for a single customer
Overrides persist on customers until they expire or you remove them.
## Create an override in the web app
Go to the [customers page](https://app.priceos.com/customers) and find and click on a customer.
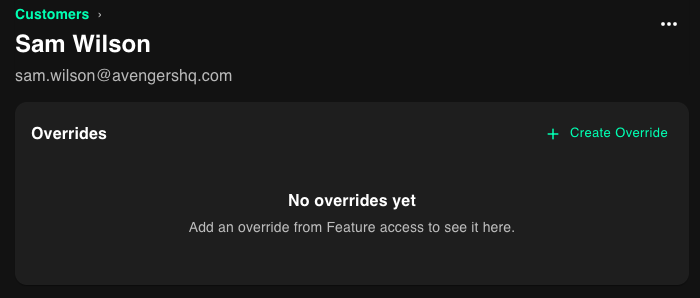
Scroll down to the overrides section and click the Create Override button
 Select a feature, specify the feature access override, and optionally set a reason and expiration date.
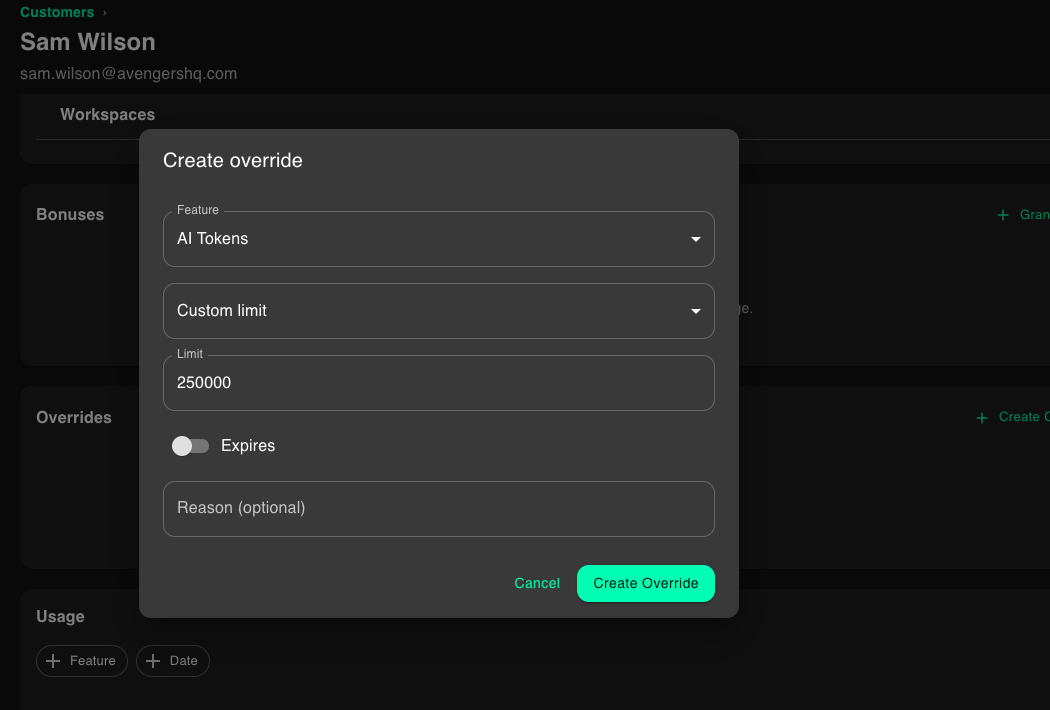 Click the Create Override button
Overrides apply immediately and only affect that customer.
Click the Create Override button
Overrides apply immediately and only affect that customer.